Fairy-tale Effect in Photoshop
February 29, 2012 Free Stuff, Tutorials
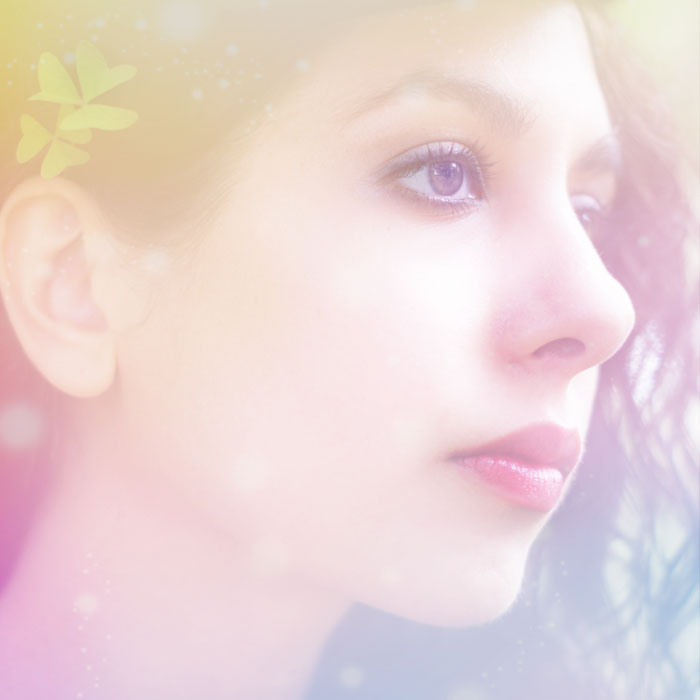
A few people asked me about how I create images with a fairy tale, pixie style. So... here is a simple tutorial on how to add an ethereal effect to your images in photoshop, using my FREE fairy tale textures pack!

The fairy tale effect can be done in several different ways.
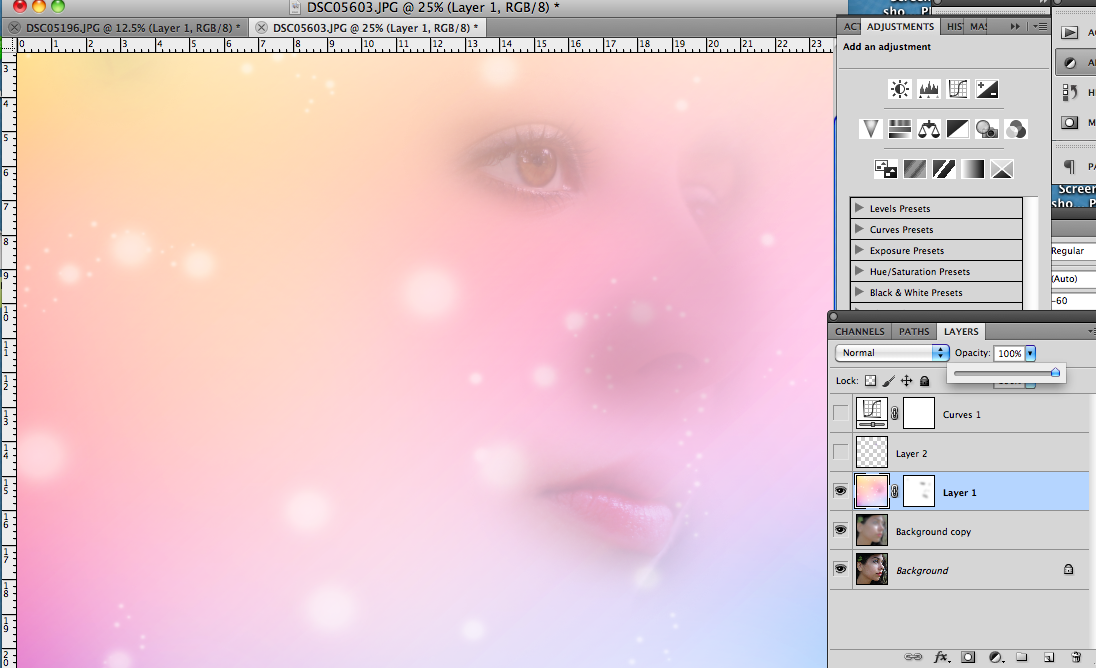
I’ll start with a simple method so that you can add just a few layers to your images and have a quick but magical effect.
Light
Adding rays of light to your image is an easy first step to achieving a pastel, dreamy feel. Here are a few simple ways to add light:
- textures
I've included a light texture in my freebie pack.
You can adjust your lighting texture (or any light texture you may find) by selecting the filter "screen" or "soft light" and adjusting the opacity.
- gradients
Gradients are fast and easy, but can also be overbearing.
Reduce the opacity to around 60% and paint black with a fuzzy, low-flow brush on your layer mask to bring back features that become lost (like eyes).
- selective dodging
Selective dodging is great for bringing out your subject or even for adding a gentle contrast to your piece.
However, dodging can also burn and over-saturate your image, leaving splotchy stains of light.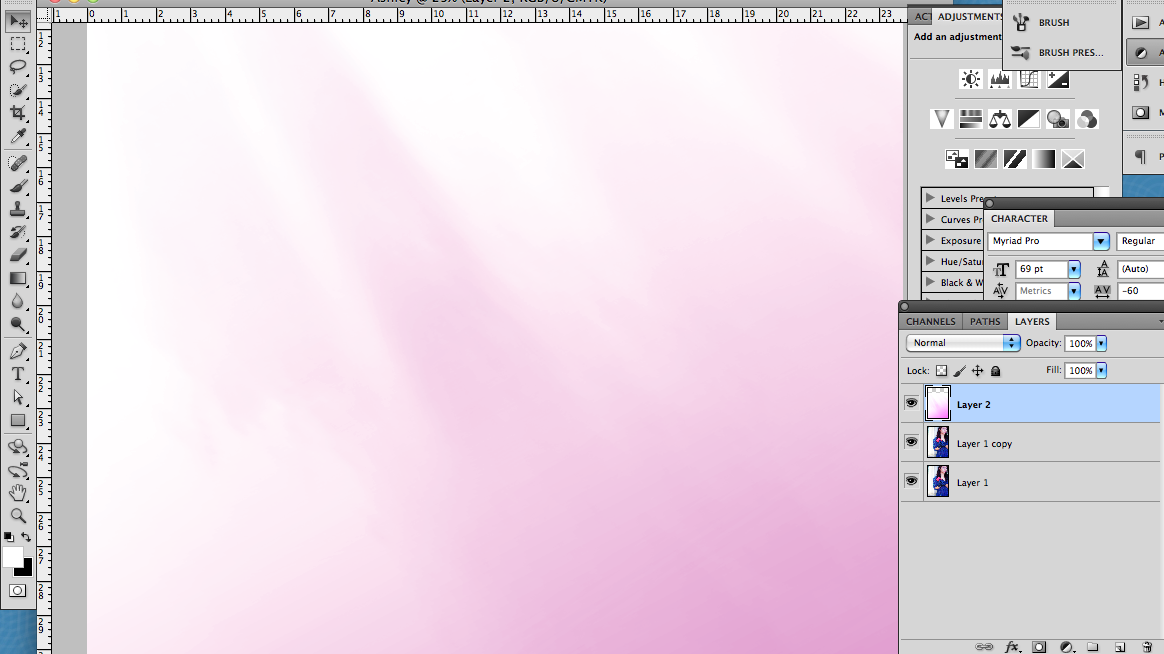


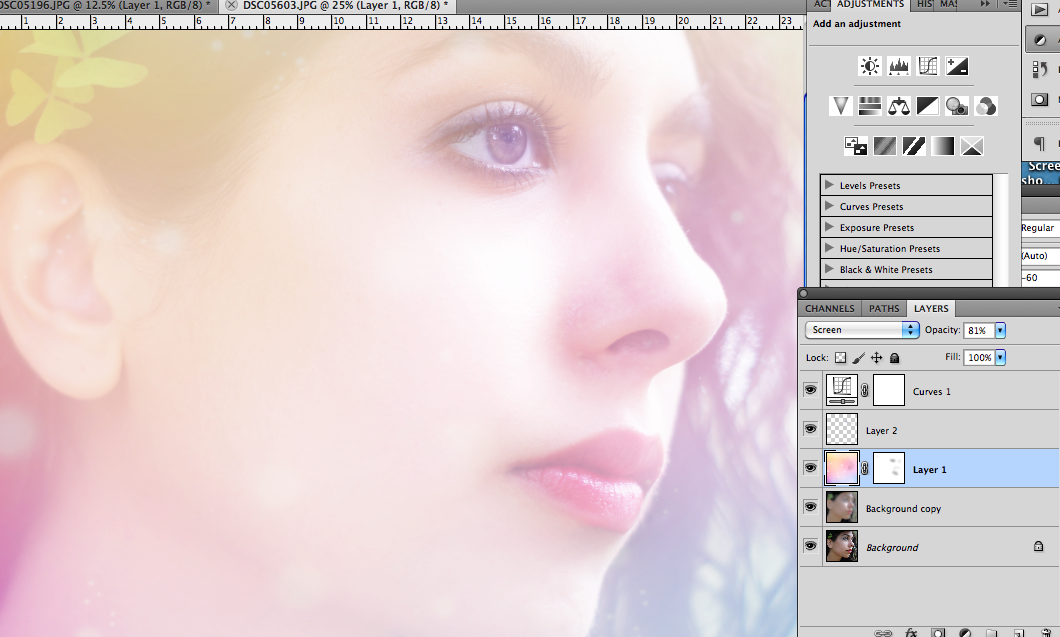
Colors
Using Curves or a color gradient, you can add an ethereal color palette to any piece. Curves are always adjusted per the artists taste, and I tend to add several curves layers to achieve a final effect.
I prefer creating own color palette and painting onto a layer, then setting that layer to “color” or “screen” or even “soft light” (I chose to keep some of my colors set on "Normal" and reduced the opacity).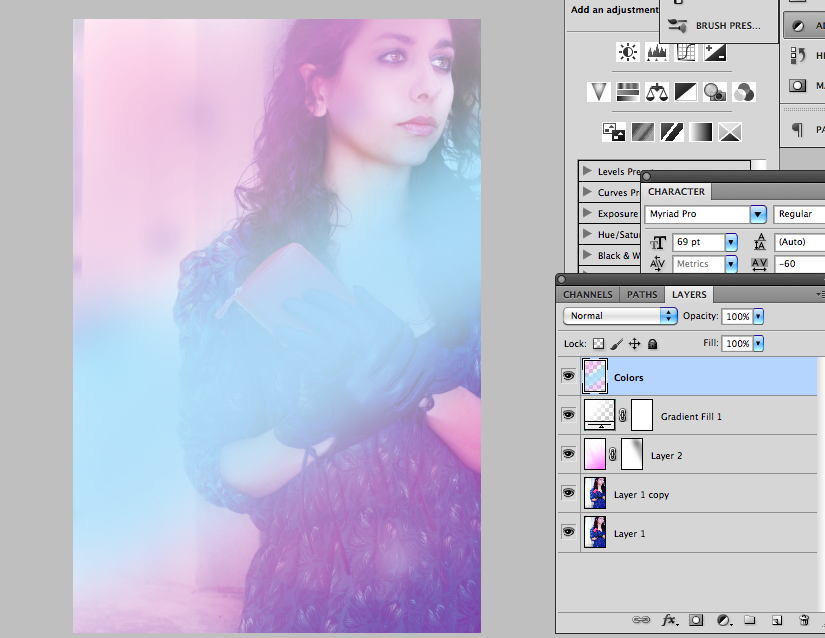

Reflections and Glitter
Last but not least... BOKEH! It’s easy to go overboard with bokeh, but occasionally a bokeh texture can create a subtle pixie effect. Usually bokehs are found naturally in the out-of-focus region of an image. There are free bokeh packs everywhere thanks to generous artists. I've also created some free bokeh textures with this tutorial in mind.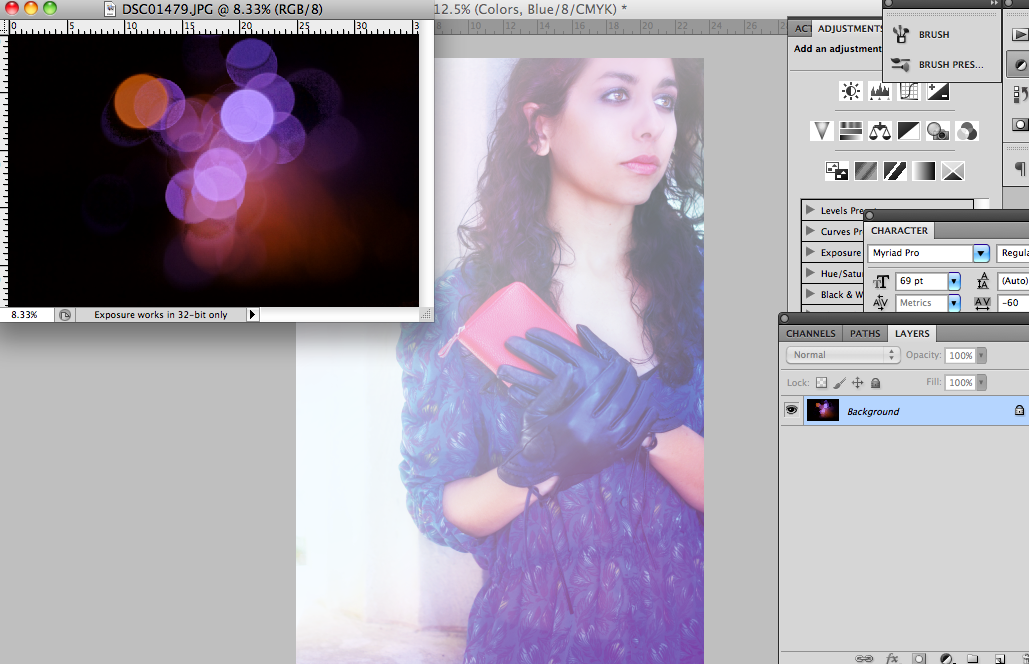
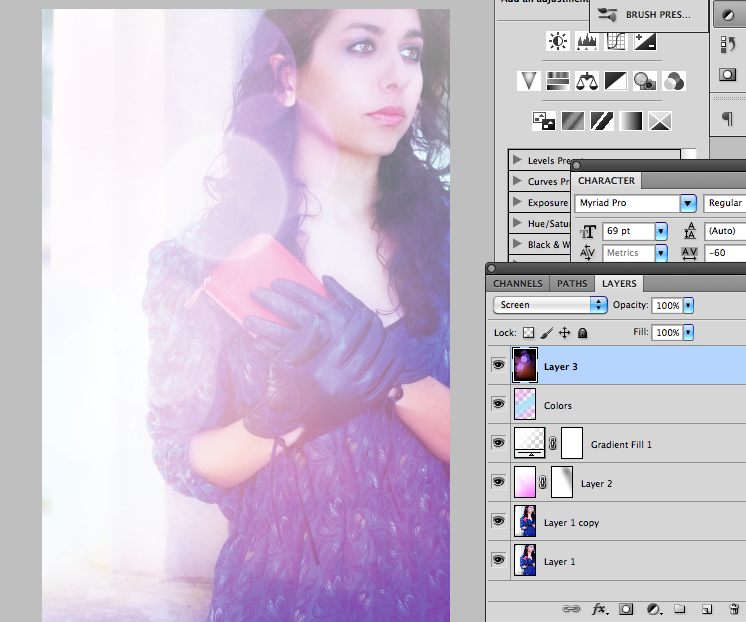
Simple enough! Add your final adjustments and tweak the layers to your preferences. Now you've got your magical image.
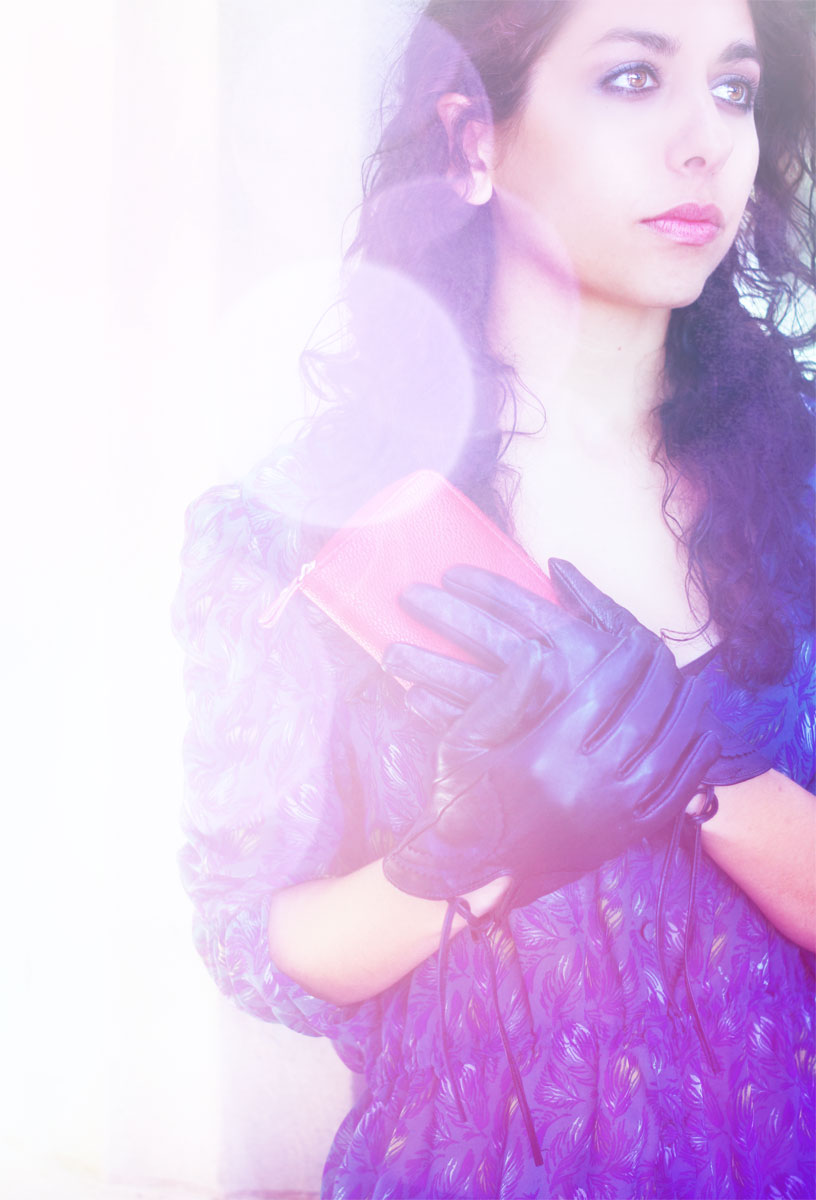
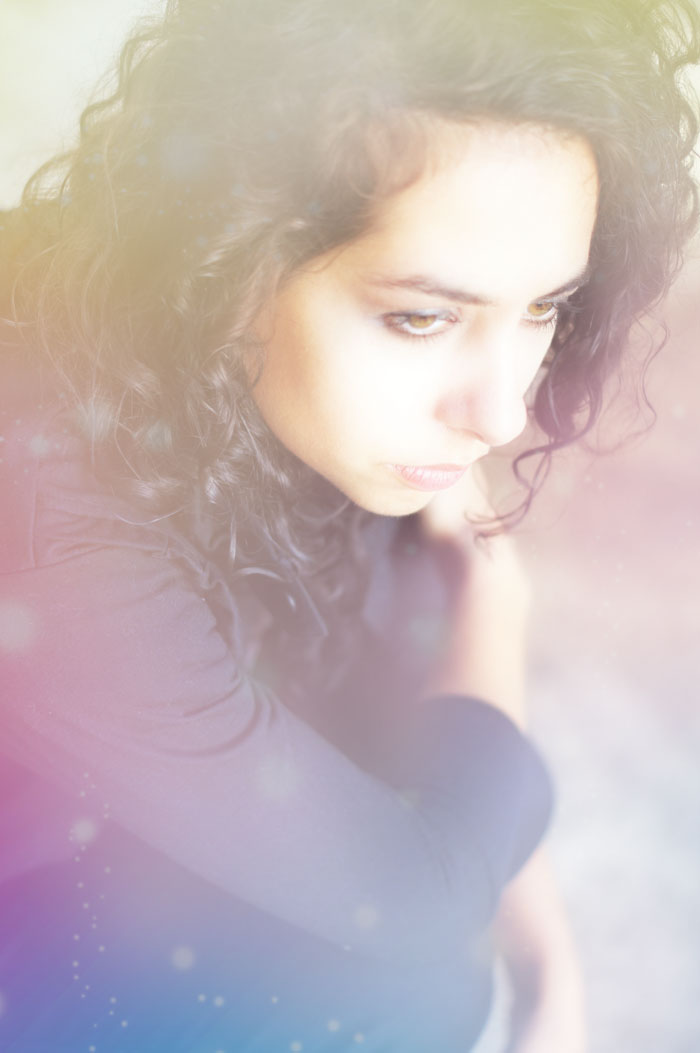
I hope you enjoyed this tutorial. Again, check my FREE STUFF post to download my new textures pack!
xo